
Hover Soccer Ball Setup & Troubleshooting Guide: Batteries, Surfaces, and Care
To set up your hover soccer ball, unscrew the bottom battery compartment with a small Phillips screwdriver, insert 4 fresh 1.5V AA batteries following the polarity (+/-) symbols inside the bay, and toggle the power switch to ON. Place the ball on a smooth, flat surface—such as hardwood, tile, or low-pile laminate—to initiate full air suspension and turn on the colorful LED lights.
3-Minute Unboxing & Pre-Play Checklist
- Unpack hover soccer ball and inspect the outer soft foam bumper for secure attachment.
- Locate small Phillips head screwdriver and unscrew bottom battery compartment door.
- Insert 4 fresh 1.5V AA batteries following alternating +/- polarity symbols inside bay.
- Securely screw battery compartment cover back in place to prevent loose contacts.
- Clear floor of small toys, shoes, high-pile throw rugs, and liquid spills.
- Switch power button to ON / LED state and verify internal fan spins with smooth air exhaust.
- Place hover ball on flat hardwood, tile, or laminate floor and give gentle kick.
Step-by-Step Setup: Battery Installation & Surface Testing
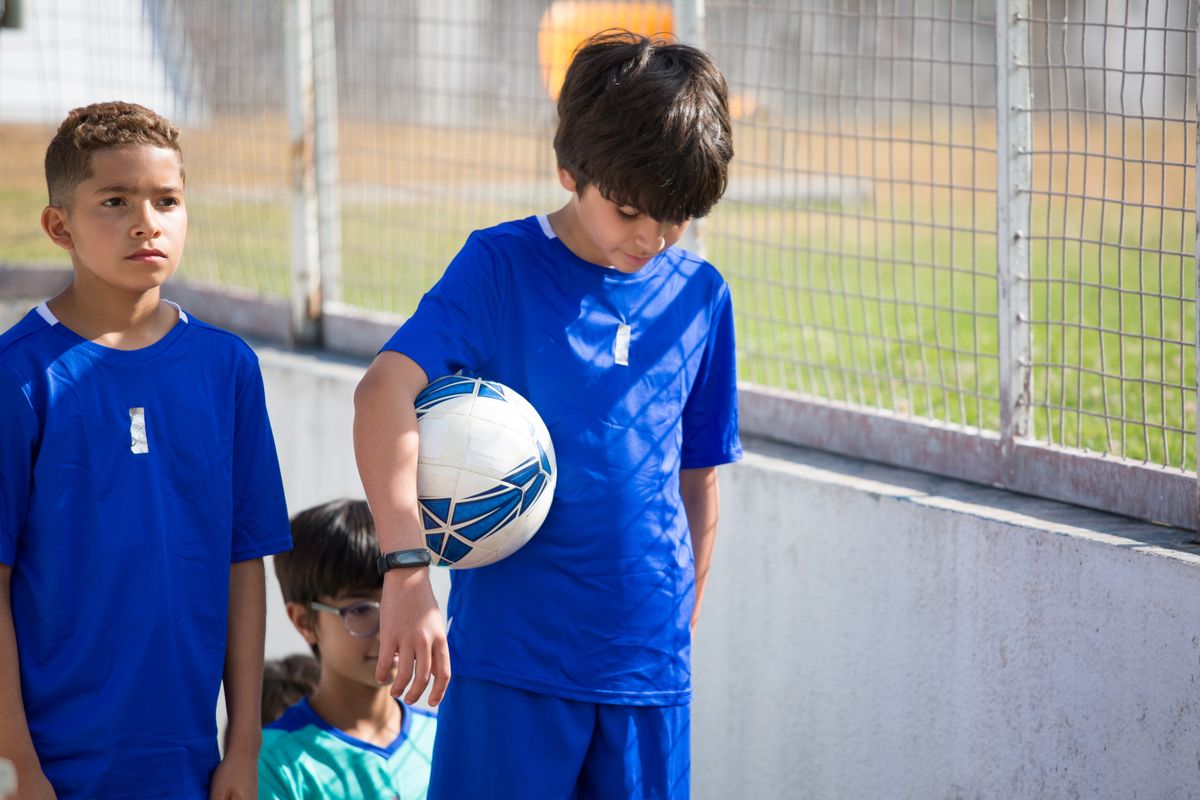
Photo by Kampus Production on Pexels
Setting up your hover soccer ball is fast and simple. Follow these four straightforward steps to transform any room into an active indoor soccer pitch in minutes.
Step 1: Open the Battery Compartment
Turn the hover soccer ball upside down to expose the central intake fan and surrounding battery bay panels. Using a small Phillips head screwdriver, turn the retaining screw counterclockwise until the protective hatch releases. Keep the small screw in a safe place so it doesn't roll away during setup.Step 2: Load 4 Fresh AA Batteries
Insert 4 new 1.5V AA batteries into the battery slots. Pay close attention to the embossed plus (+) and minus (-) markings inside each bay. Ensure the negative spring terminals compress smoothly against the flat end of each battery. For best results, use four identical brand-new alkaline batteries or high-capacity rechargeable AA batteries.Step 3: Fasten the Hatch & Toggle the Power Switch
Replace the battery compartment cover and tighten the Phillips screw firmly. Locate the small black power toggle switch next to the battery door. Slide the switch to the ON position. You should hear the internal quiet motor spin up immediately and see vibrant multi-colored LED lights glow around the central dome.Step 4: Perform the Floor Hover Flight Test
Set the hover ball gently onto your smooth indoor floor surface. Give it a soft push with your foot or hand. The ball should float effortless on a micro-air cushion approximately 1 to 3 millimeters above the floor, ricocheting smoothly off baseboards thanks to its protective EVA foam bumper.Coach Pro Tip: Maximizing Hover Clearance & Battery Longevity
Here is a secret from seasoned indoor soccer coaches: Always replace all 4 AA batteries at the exact same time. Mixing old half-drained batteries with fresh ones reduces fan motor RPM by up to 40%, causing the ball to drag or scrape across hardwood instead of floating on air. If you play frequently, invest in 1.5V NiMH rechargeable AA batteries to keep fan output high while keeping battery waste low!
Hover Soccer Ball Troubleshooting Matrix
| Symptom & Observation | Probable Root Cause | Quick Field Fix |
| --- | --- | --- |
| Ball drags or scrapes hardwood instead of hovering smoothly | Weak battery voltage (below 1.2V per cell) or hair/dust tangled around central fan rotor | Replace all 4 AA batteries simultaneously with fresh 1.5V alkalines. Inspect bottom fan intake and clear tangled hair using fine tweezers. |
| LED lights glow brightly, but fan motor does not spin at all | Low overall battery voltage (LEDs draw less power than motor) or small debris jammed in impeller blade | Install 4 fresh AA batteries. Turn off power switch and manually spin fan rotor with finger to dislodge stuck dust or carpet fibers. |
| Ball drifts aggressively to one side when kicked straight | Uneven floor pitch, or airflow intake partially blocked on one side of bottom vents | Move match to a level hardwood or tile area. Wipe away lint accumulation on bottom intake grill with a dry microfiber cloth. |
| Loud grinding or buzzing noise during fan operation | Small particle of grit, carpet fiber, or pet hair wrapped around fan motor axle | Switch off power immediately. Turn unit upside down and use compressed air or small tweezers to unwrap fibers from rotor axle. |
If your hover soccer ball isn't gliding as fast or as high as expected, use this side-by-side diagnostic table to pinpoint the cause and fix it in seconds.
Key Takeaways for Long-Lasting Hover Fun
- Fresh 1.5V AA batteries provide optimal motor RPM for true micro-air suspension.
- Smooth, hard surfaces (hardwood, polished tile, laminate) yield the longest glides.
- Tight low-pile rugs work well, but high-pile shag carpets choke fan airflow.
- Soft EVA foam bumpers absorb impacts cleanly without scuffing baseboards or furniture.
- Periodic fan rotor cleaning prevents pet hair and dust buildup from slowing down motor speed.
Recommended Gear: Double the Fun with LED Sets
Ready to take your family active play to the next level? Playing two-player passing games or 2-on-2 living room soccer matches is even more thrilling when you have multiple glowing hover balls moving together in the dark.
Routine Maintenance & Fan Cleaning Schedule
- After Every Match — Inspect bottom fan intake grill for loose pet hair, dust bunnies, or carpet threads.
- Weekly — Wipe down outer soft EVA foam bumper with a slightly damp microfiber cloth to remove dust.
- Monthly / Storage — Remove all 4 AA batteries if storing the toy for longer than 2 weeks to prevent terminal corrosion.
Visual Architecture: Battery Orientation & Airflow Chamber

Photo by Kampus Production on Pexels
Understanding how your hover soccer ball converts intake air into smooth hover lift makes setup and troubleshooting effortless.
4 Common Setup Mistakes to Avoid
Avoid these common pitfalls so your kids can enjoy seamless gliding and long battery runtimes:
Battery Life Expectations & Replacement Timeline
- 0 - 30 Minutes — Peak air cushion height (2 to 3mm hover gap). Maximum gliding velocity on tile and hardwood.
- 30 - 120 Minutes — Optimal play phase. High LED brightness and smooth multi-surface gliding performance.
- 120 - 240 Minutes — Slight reduction in air hover clearance. Smooth hardwood performance remains strong; low-pile rugs may experience minor friction.
- 240+ Minutes — Fan RPM drops below hover lift threshold. Time to install 4 fresh 1.5V AA batteries for next match.
Frequently Asked Questions
Why is my hover soccer ball scraping the floor instead of gliding?
Scraping occurs when the fan cannot create enough downward air pressure. This is almost always caused by low battery voltage or hair wrapped around the fan rotor axle. Replace all 4 AA batteries with fresh 1.5V alkalines and inspect the bottom intake fan for tangled debris.
Can hover soccer balls be used on low-pile carpet?
Yes! Tight, low-pile carpets and commercial rugs work great. However, high-pile shag carpets choke the intake fan's airflow, creating heavy friction and preventing the ball from floating.
How long do batteries last in a hover soccer ball?
Standard 1.5V AA alkaline batteries provide approximately 2 to 4 hours of continuous hover and light play, depending on fan motor draw and surface friction.
Will the foam bumper leave scuff marks on white baseboards?
No. Quality hover soccer balls feature soft, non-marking EVA foam bumpers engineered to absorb impact and bounce off white baseboards, trim, and furniture legs without leaving dark marks or scratches.
Find fast answers to common questions about floor compatibility, scuff marks, and battery runtimes.
Related Guides & Active Play Resources
- Hover Soccer Ball Setup and Maintenance: The Parent's Complete Guide
- Hover Soccer Ball Setup & Troubleshooting Guide: Clearing Clogs and Optimizing Airflow
- Why Is Your Hover Soccer Ball Losing Power? Fix Batteries & Fan Drag
Next Steps for Non-Stop Active Play
Your decision: Determine if your play area has a flat, low-friction floor and ensure you have 4 fresh 1.5V AA batteries ready.
Do this next: Follow the 3-minute setup guide to install batteries, switch on the colorful LED lights, and test the glide height on smooth flooring.
- Read next: Hover Soccer Ball Battery Life & Maintenance: Essential Tips for Parents
- Read next: How to Host an Unforgettable Glow-in-the-Dark Soccer Birthday Party
Glide Soccer (Pack) for two-player LED glow matches.
You are all set to launch your first glowing indoor match! Check your play space for smooth flooring, pop in 4 fresh AA batteries, and let the fun begin.
Cover photo by Dmitry Egorov on Pexels.